Saturday, September 12, 2015

Making Miniature Quilts


The heron quilt row is from Beginnings Quilt Shop in Hendersonville, NC.
After I pieced it I thought it would be fun to use the leftover fabric and make a miniature!
The large version has 2 1/2" cut squares that finish at 2".
My mini has 1" squares that finish at 1/2".
Large version 9x36. Mini version 3x9.

This is the pattern from the shop for the row by row.

They had 2 full color photos of the row. This photo on the inside of the pattern was exactly the right size to trace the heron.

Then because cutting 1" squares is SO MUCH FUN I cut more and arranged them like this:


And when they are all sewn together I got this:

This miniature is 4" x 12".

The best thing about miniature quilts is that they are very quickly done!


Saturday, September 5, 2015

Sew U Camp 2---Scary Camping

After sewing lots of "rows" this summer that were designed by others, I decided to design one for me. This is what scary camping is all about. Hearing spooky noises and not knowing what is out there......
This measures 12 1/2" x 44".

For fun I experimented with quilting from the wrong side.

I followed the lines in the backing fabric.

Since the back fabric is dizzying I chose to quilt only one direction at a time.

Then I quilted the opposite way.

Sleepy moon...

SCARY HUGE spider.....

WHAT IS THAT THING??????

Special license plate designed by Debra Gabel for the Facebook group "SewUCamp2".


Saturday, August 29, 2015

2015 Row by Row finished!

Today I turned in my quilt to Ellicott City Sew Vac in Ellicott City, MD. I didn't have their row in my quilt so I didn't win a bonus prize. All 9 shops that I went to for these rows have already had a winner so I had to take my quilt elsewhere. The reason it took so long for me to complete this quilt this year is because I spent all summer trading for row kits all over the USA that I loved but couldn't go pick up in person. The traded rows are the BACK of my quilt. The rules of the 2015 Row By Row Experience are on their website.
I posted this photo on my Susan's Quilt Creations FB page. 
I like the split photo because it shows the front and the back of the quilt together!

These 9 rows are from 9 (of the many) shops that I visited this summer. These rows are from: 
Bonny's in Stafford, VA
Lindarella's Quilt Works in Southern Pines, NC
The Crazy Cousin in Fredericksburg, VA
Traditions at the White Swan in Hagerstown, MD
Patches Quilting & Sewing in Mt Airy, MD
Cary Quilt Co in Cary, NC
Serendipity Quilt Shop in Dagsboro, DE
Studio Stitch in Greensboro, NC
Sew Original in Winston-Salem, NC

These rows are ALL swaps or trades.
Gone Quiltin' LLC in Bandera, TX 
Scruffy Quilts in San Mateo, CA
Maui Quilt Co in Kihei, HI (Thanks Earl & Katie!!)
Quilter's Paradise in Mt Pleasant, IA
Sharky's Vac & Sew in Wildwood, FL
Sweet Bee's Fabric in Charlotte, MI
Purple Frog Quilt Shop in Jefferson, OR
Susie Q's Quilts in North Fort Myers, FL
The Sewing Studio in Martinsville, VA

Special quilt label!

Two sided label because it's a two sided quilt.

Love the button eyed fish and the Kaffe Fassett crabs!

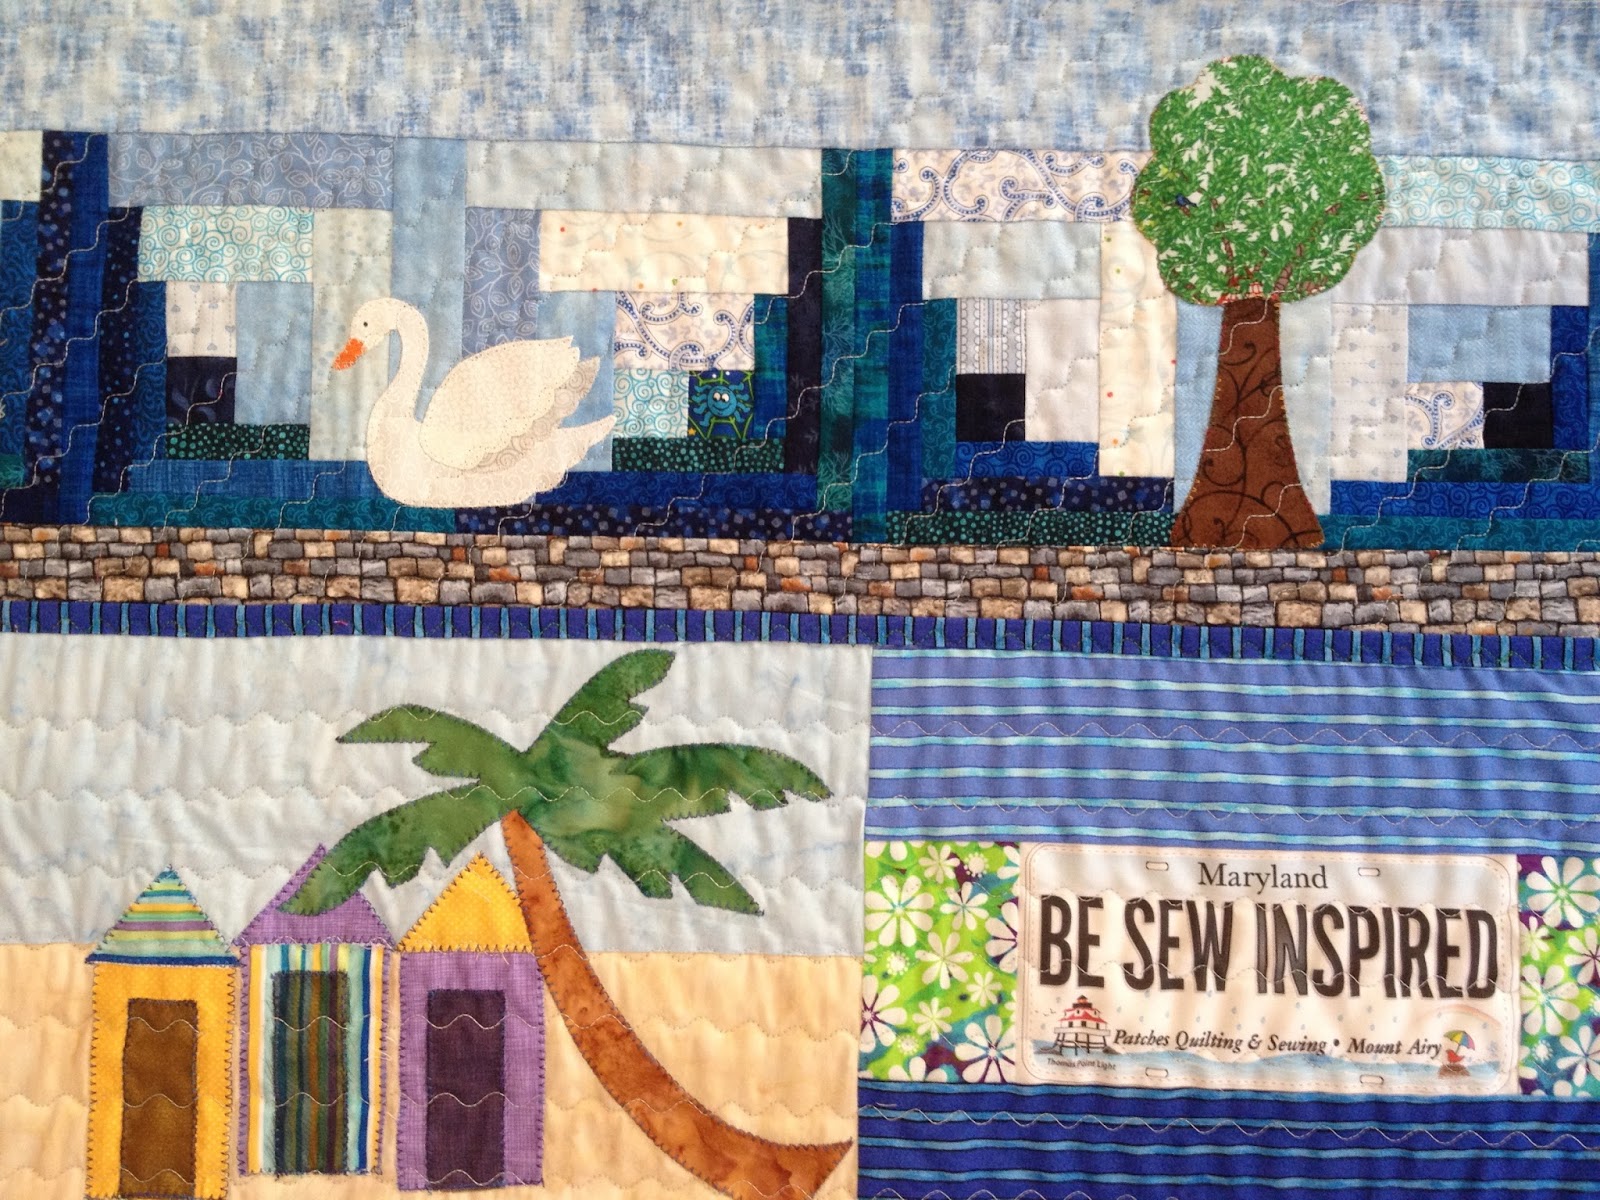
Special license plate designed for our FB swap group!

Stanley didn't have a plate for his shop so I used the above plate for him.

This shark always makes me smile.

Love silly frogs!

Ah Honeymooning in Hawaii!!

Silly geckos.

More silly frogs with smiles!

And more frogs.

Kaffe Fasset fish.

Cabanas under the palm tree. Ahhh

Cute weeping willow and stone wall.

Crazy ducks.

Singing daisies.

The blue spider is watching the swan.

This quilt was SO much FUN to make!!
Thanks to all who helped to make it possible by trading, swapping, purchasing, road tripping etc.

Linking to Finish it Friday.


Friday, August 21, 2015

Double Binding for Quilt-As-You-Go

I always have to refresh my memory on how to do the skinny binding to hook my row by row quilted rows together.

Step 1: Cut binding 1 1/2" x length of row plus 2". Since the rows ended up about 48" long with the license plate added I needed to cut 2 lengths and piece them together.

Step 2: Iron binding in half with wrong sides together.

Step 3: Baste binding 1/8" from edge on one side of quilt.

Step 4: Sew binding 1/4" from edge on other side going through the basted binding also.

Step 5: Pin "bridges" to hold both sections to be joined.

Step 6: Zig Zag as long and as wide as possible to hold both sides of quilt together.

Step 7: Iron binding TOWARD the quilt piece just joined. Do this on BOTH sides.

Step 8: Pin binding well and make sure it catches the binding on the back side.

Step 9: Sew binding down to cover the raw edges where the quilts are joined. I use the serpentine stitch. Sew through both bindings.

Now for visuals....
Step 3 Baste 1/8" seam.

Step 4 Sew 1/4" seam.

Step 5 Pin bridges.

Bridge is pinned in both directions.

Step 6 Zig Zag.

Step 7 Iron top binding and....

Step 7 Iron bottom binding.

Step 8 Pin binding well....

Step 8 ...make sure pin catches BOTH bindings.

Step 9 Sew the binding down to cover the raw edges where the sections are joined.
Serpentine stitch.

Both sides stitched at the same time!

This side of the quilt has beach sand for binding.

This side of the quilt has water blue binding


Linking to Finish it Friday at Crazy Mom Quilts.