Friday, September 23, 2016

Knot-Sewber Fairy Godmother

I just couldn't resist the fun of making this "Knot-Sewber" Fairy Godmother.

 The 2016 Row By Row license plate is from the shop Bolts to Blocks in Albany, Oregon. I purchased it from their Etsy shop BoltsToBlocks. I like this license plate for the colors and the sentiment.

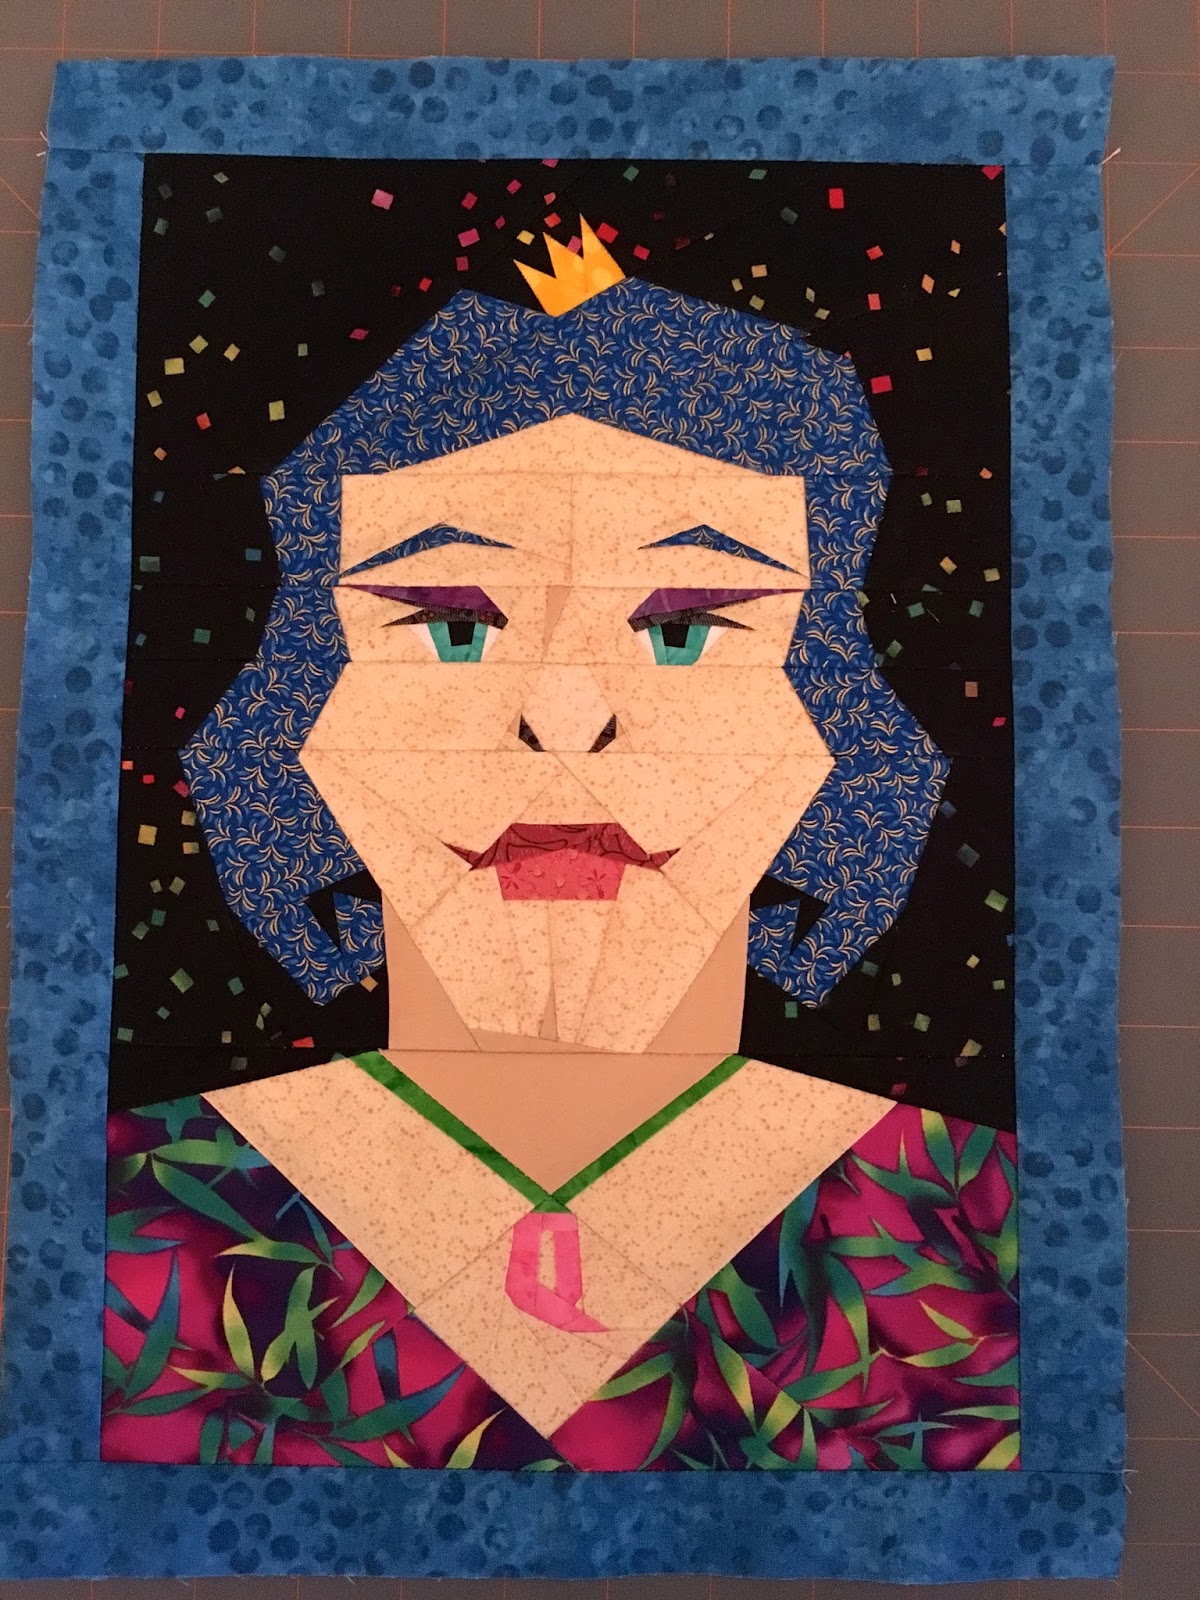
These are the foundation papers for this fairy from Paper Panache. I colored some of the pieces for 2 reasons. First is to see if I like what it will look like and second is to reduce piecing errors. I changed the shape of her face a little bit so it wasn't so angular at the top and near the eyes.

I like to do the piecing from the top down. Plus I was excited to see if the red Kaffe Fasset fabric I'd chosen for the hair would actually work. 

I wanted a deep red like the glass of wine on the license plate to tie it in.

Is it 5:00 yet?

You know I love my gecko!!!

What do you think about the risky fabric choices? Remember this is not supposed to be a life-like portrait. It's an art piece of a fairy godmother.

I'm really pleased with how it's turning out!
Now I need to decide if I want to frame it or quilt it. 
I'm leaning toward quilting but for now I can enjoy her smile. 
Cheers!


Friday, September 16, 2016

Woven Placemats


Just for fun I wanted to make some woven placemats---without a pattern or tutorial. Haha!

I started with 4" wide strips of fabric.
The white is 17" long and the colors are 13 1/4" long.

I ironed them in half then folded the edges in and pressed.

Next step was to fold them all up to 1" wide and sew a top stitch down both sides of each strip.
Note I did NOT use any stabilizer..........

The fun weaving process begins...

It was quite messy on the last row. 
I didn't have a good method of weaving.

But it looked just fine when done.

I zig zagged the edges to hold it together and into the wash......

Oops! Yikes!


What a mess! This is what I get for no stabilizer!

But all is not lost. Ironing each section helped.

Then I sewed a wavy line between all the rows to hold them together!

This is placemat #2 in progress.

This time I  pinned a row or 2 and then SEWED it down!!

The zig zag edge is fairly ugly. I need to add binding.

Now into the wash to see how this one holds up! 

The binding is much better to finish the edge.

This time they went through the wash very nicely.


Thursday, September 8, 2016

Fairy Godmother from Paper Panache


This is my quilting Fairy Godmother.

"Show-tellluria"

While searching for something else entirely, I stumbled upon an awesome website with foundation piecing patterns. Paper Panache. There are loads of beautiful creative projects to purchase and some free patterns also. 
I was intrigued with the Fairy Godmother. It's FREE. And all the godmothers are different! There are many different hairstyles, eyes, noses, mouths and necklaces. To get an idea for good colors/fabrics to use there is a gallery with over a hundred completed Fairy Godmothers to look through.

This is Linda Worland's Fairy Godmother. 
Linda is the creative force behind this.


To get your own fairy godmother you have to complete this multiple choice quiz.
Once you submit your answers you will get a "name" and a code to retrieve your fairy plus all the links to the foundation downloads of Units A thru F. Print them out and follow the directions.


These are the pieces of my "Show-tellluria" without glasses.
This is the version I chose to do.

These are the pieces of Show-tellluria with glasses.


Sewing the mouth unit to the top unit. Sew exciting!!

And tada! Here she is. My very own Fairy Godmother to watch over my sewing room.
"Show-tellluria" is her given name.

Watching over my studio...

I'm going to make a couple more fairies because they are fun!!