
This is a photo tutorial on how to make this cute 4 1/2" snowman ornament using my method of piecing 1" squares that finish at 1/2". Give it a try.
This ornament only has 36 squares.
("The Love Project" quilt I just finished had 2,613 squares!)
Use fairly small scale prints for the squares since only 1/2" will show.
I used 3 different white prints to add interest. You can use more or less but this will give you some variety. Pick a strong orange for the carrot nose so it will stand out. The black for the hat looks best if it isn't too busy. (See examples at end that are much busier than this one.)
You will also need:
22" of 3mm ribbon (1/8" wide)
4 tiny buttons 1/4" for eyes and bow centers.
Batting and backing each 5" square.

Cut 3: 1" x 6" white.
Cut 2: 1" x 6" red.
Cut 1: 1" x 8" black.
Cut 1: 1" x 2" yellow.
Cut 1: 1" x 1" orange.
Cut 4: 1 1/4" x 6" BORDER print.

Cut all the strips into 1" squares (EXCEPT THE BORDER!)
Arrange the white squares into 3 rows of 6 squares each.

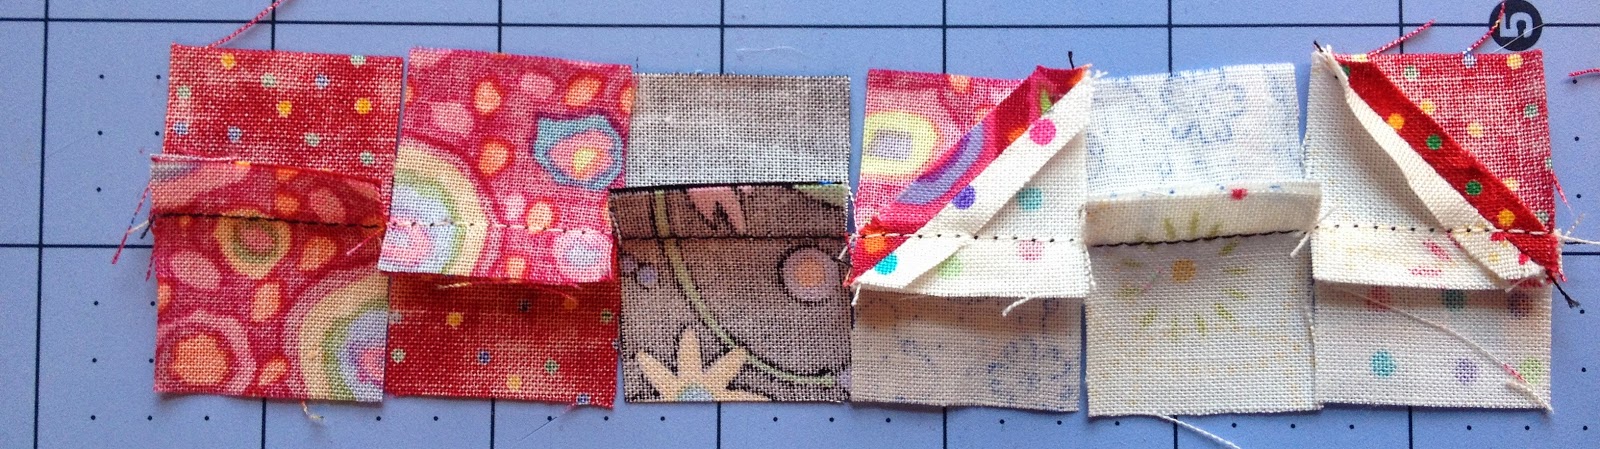
Take the 4 white corner squares and the nose square:
lay 4 red and the 1 orange onto these white squares with right sides together.
Sew across diagonal.

Trim one side off 1/8" from seam. Press seam open.

Arrange the squares on your work surface like this:
Put the 4 red/white squares back on the corners of the white face.
Replace the nose in the face with the orange part on the lower side.
Add a row of black hat above the face.
Put the 2 yellow squares in the center and finish the black hat with the black over the yellow.
Fill in the rest with red squares.
So now you've got a red background, black hat with a yellow band, white snowman with orange nose.

Start with the 2 red squares in the top row.
With right sides together sew a 1/4" seam.

Add the next 2 red squares and chain sew them right next to the previous squares.
The squares from the left edge os the snowman will be inn the bottom and row 2 squares will be face down on row 1.

Continue sewing 2 squares at a time.
Press seams in opposite directions.

For the 3rd row sew from the top down, one square at a time starting with a black hat square.
Press seams in opposite directions again.

Now you should have this: 3 rows sewn and 3 more to do.
Continue sewing one vertical row at a time.

Now all the vertical rows are sewn.

The back has seams pressed in opposing directions.

Using large scissors trim the seams to 1/8".

Horizontal seams next.
Fold the top of the hat down and sew.
The seams should nest together so pinning shouldn't be necessary.

Sew every other row. Press seam to one side and trim to 1/8".
Then sew the last two rows, press, trim.

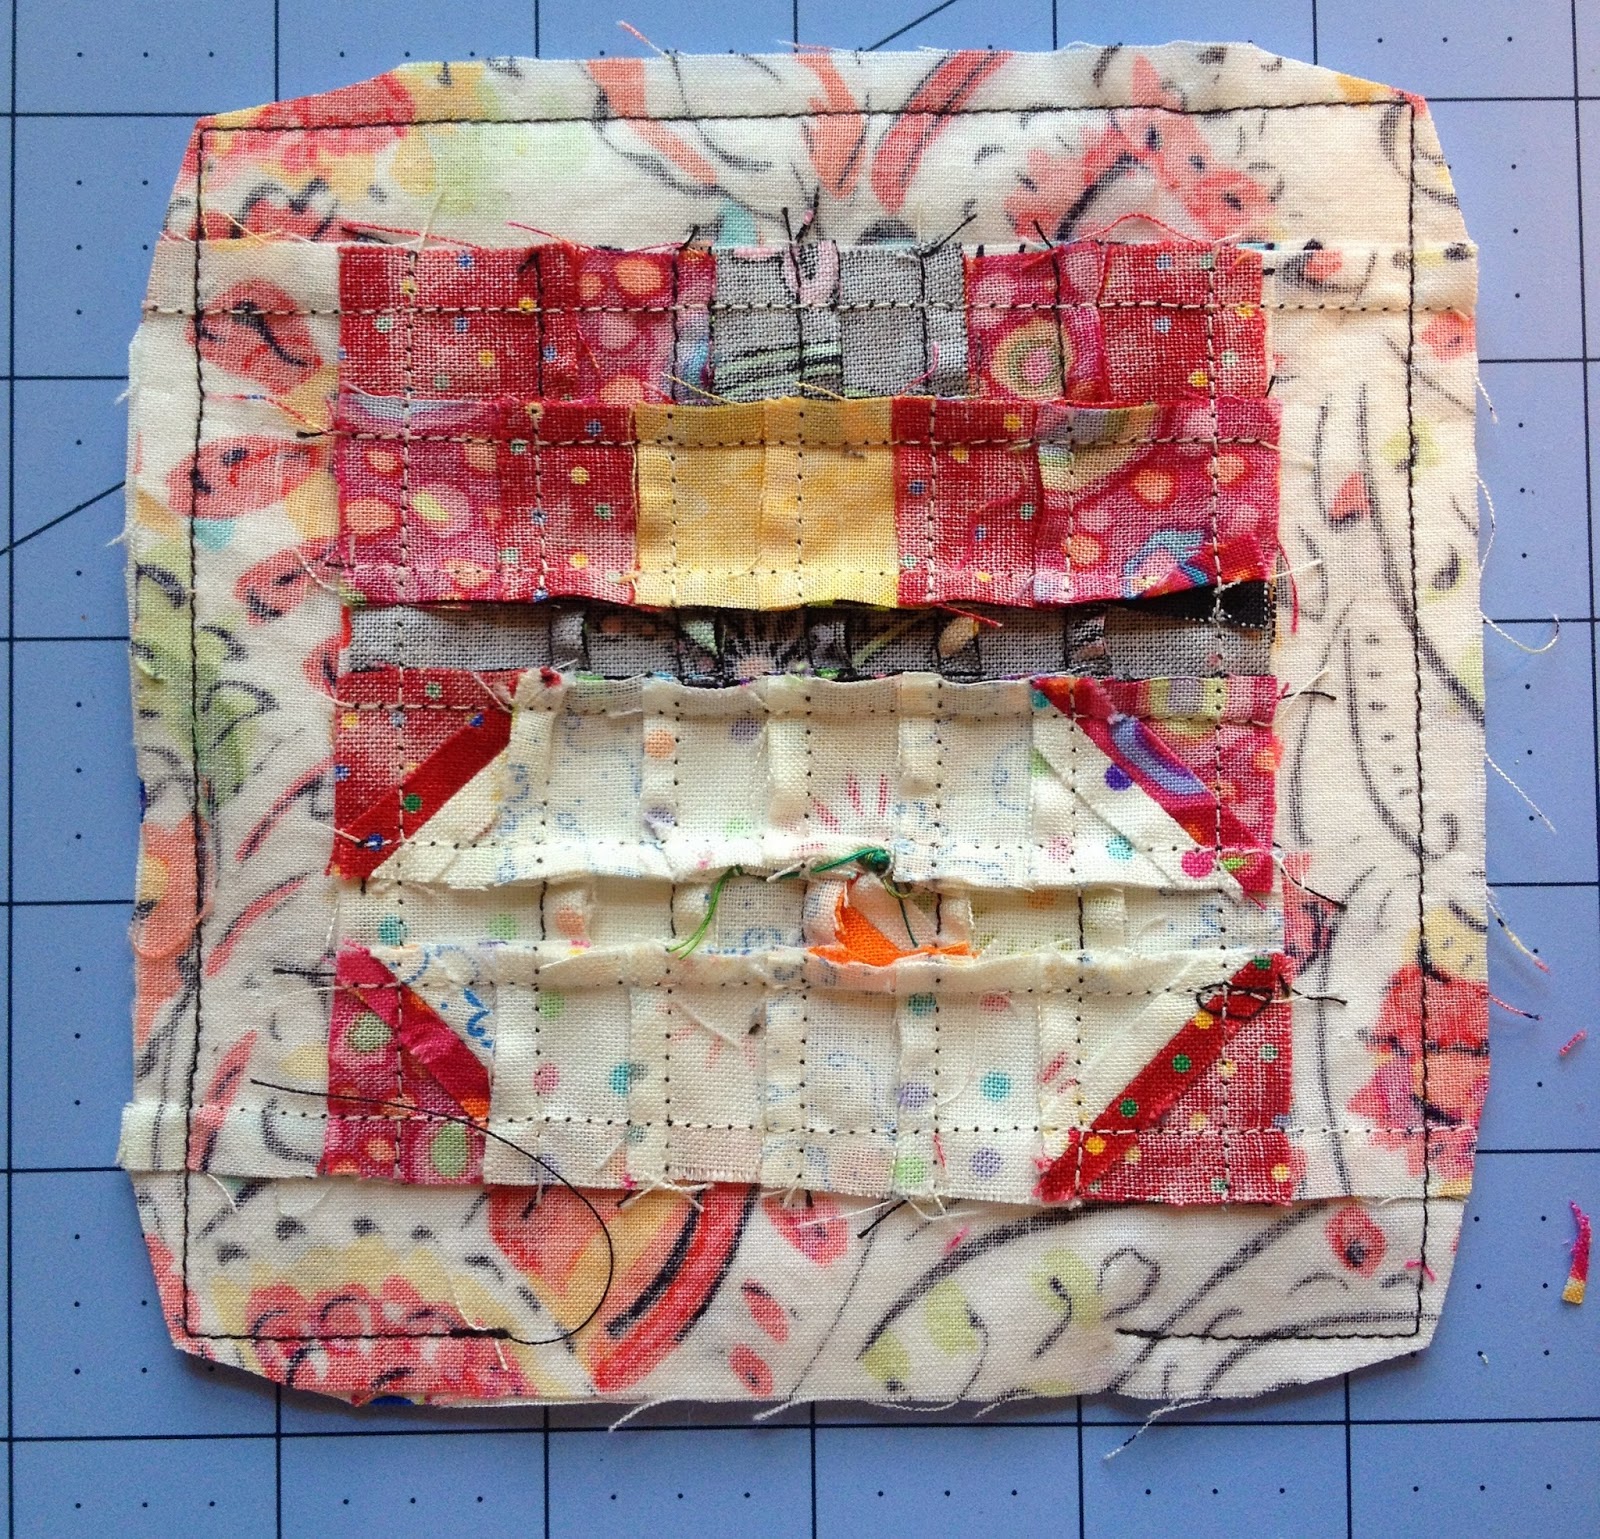
The 36 squares are now sewn!
This should measure 3 1/2" x 3 1/2".
If you sew a generous 1/4" seam it will be smaller.
If you sew a scant 1/4" seam it will be bigger.
I've done both depending on my mood but it will be fine both ways.
Just be consistent!

I pressed my horizontal seams toward the hat and toward the nose.

Sew the side borders on first, then top and bottom. (Trim to fit.)
My snowman unit is now 5" x 5".

Sew 2 tiny buttons (1/4") on for the eyes.
Save 2 more tiny buttons to go on the bows.
You can make a mouth using french knots if desired.
See the ornaments at the end for an example.

Cut a square of backing and batting 5" x 5".

Lay the backing face up onto the batting.
Put the snowman face down over the backing.
Sew a 1/4" seam all around the edges leaving a 2" gap for turning it right side out.
Trim the corners to reduce bulk.
Turn right side out, poke the corners out and tuck in the seam allowance where the gap was.

Topstitch around the outer edge to close the turning gap.
Sew around the snowman.
(This would make a cute coaster if the eyes were flat--use a marker!)

Cut the 1/8" ribbon into: 2 pieces 5" long for the bows and 1 piece 12" long.
Mark the center of the 5" piece.
Position the handle ribbon on the border so about 1" hangs down, lay the 5" pieces horizontally over the handle and sew a few stitches to hold them in place as shown above on the left.

Now curl the 2 ends back around to make the bow.
Pin and sew a few stitches right in the center to hold it.
Sew a button on the center of each bow.

These snowman ornaments hang over a doorknob beautifully.
Notice the top 2 snowmen have the mouth made from french knots.
These snowmen hang in my sewing room all year long.
Remember to sign and date the back if you're giving it as a gift.
If you'd rather purchase this ornament visit my Etsy shop HERE.
See other Finish it Friday goodies at Crazy Mom Quilts.


