The Vera Bradley Napkins are 100% cotton, measure 20" x 20" and cost $6. (Less if you get them on sale, on eBay, or at an outlet.)
Supplies:
One Napkin or about 6" x 50" of cotton fabric
1/4" elastic x 60"
Non slip grippy stuff (used as shelf liner? or drawer liner? or under rugs) 3" x 50" (bought by the yard at JoAnn's)
Safety pins-one small and one large
rotary cutter, ruler, mat
tape measure
sewing machine
thread to match
Cut a piece of fabric 6" wide x steering wheel circumference plus 3/4". Measure your steering wheel circumference with a tape measure or use a piece of string and then measure that. My wheel is 46". So I would need a piece of fabric 6" x 46 3/4".
Trim off the binding on the napkin edge. Cut 6" x 20" twice. Then cut another piece 6" x 10". Once sewn together this length will need to be trimmed to your steering wheel measurement plus 3/4".
And you will have some leftover for another project.
Sew the pieces end to end with 1/4" seams and press them open. Measure 46 3/4" (OR what your wheel measures plus 3/4") and trim any excess off.
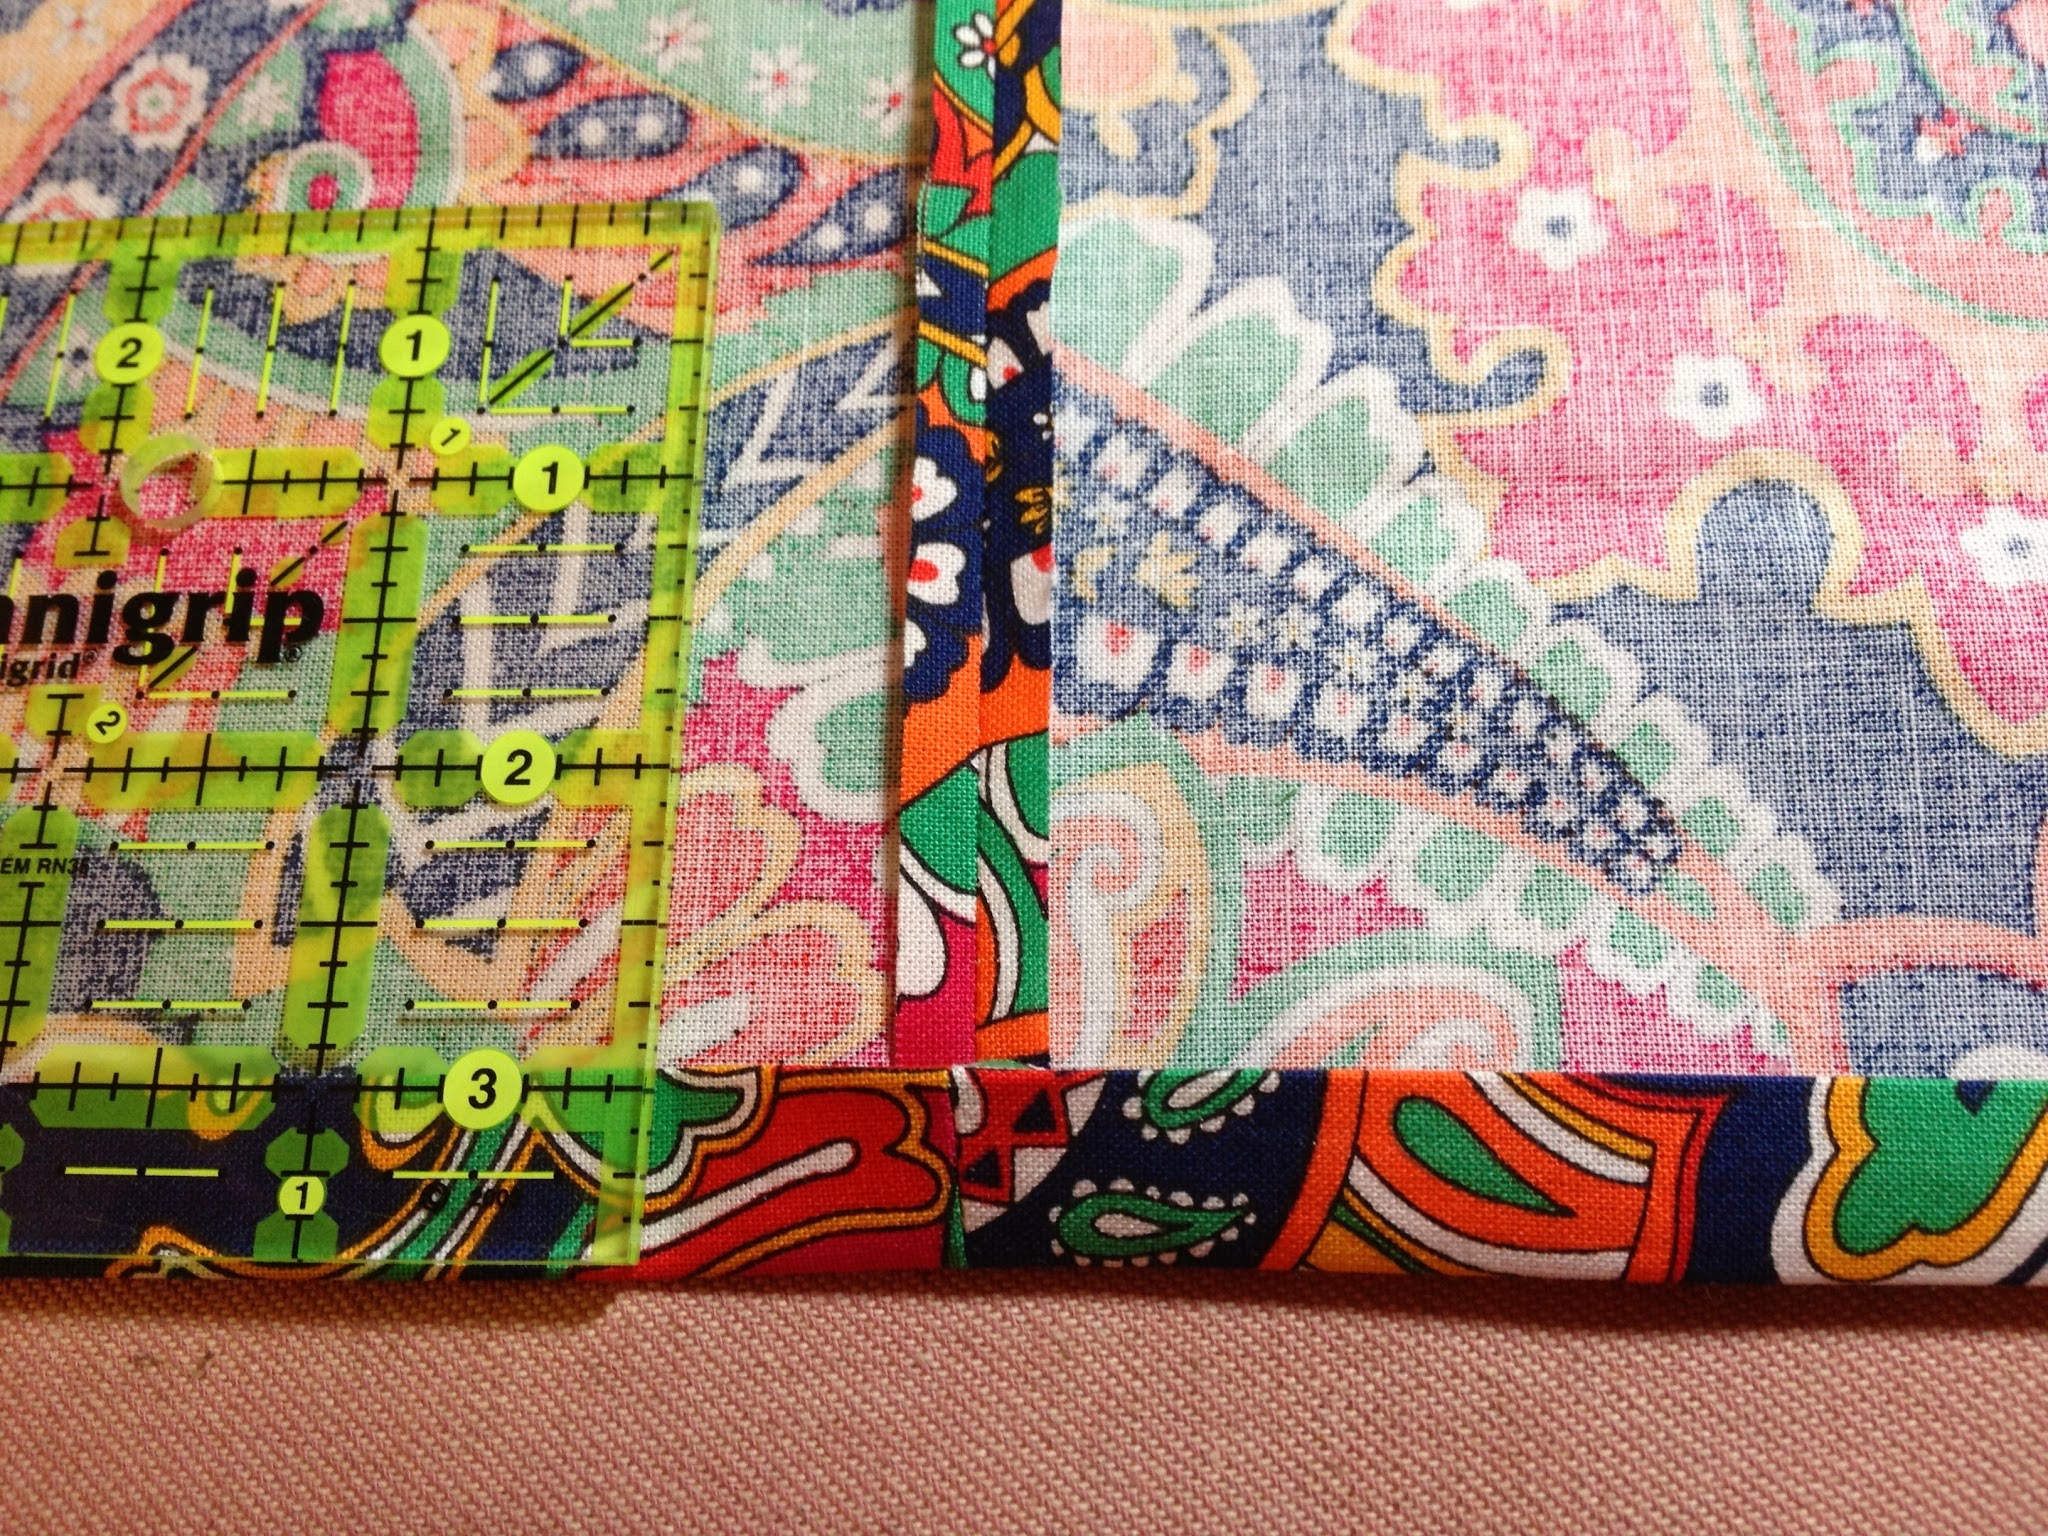
Fold up 1/4" on each long side and iron.
Fold that ironed fold up 1/2" and iron that too.
Top stitch along the edge of the fold to create the casing for the elastic.
You need TWO pieces of elastic each 30" long. I used 1/4" soft stretch elastic.
Prepare the elastic to be threaded into the casing by putting a narrow safety pin on one end and a large pin as an anchor on the other. Set aside.
Cut a piece of non slip grippy stuff (sold at JoAnn Fabrics by the yard)
3"wide x your wheel measurement. (3 x 46)
Lay it on the wrong side of the fabric, about 3/8" or so from the end, and pin each side to hold it there.
Flip it over carefully and sew down the center of the fabric to anchor the grip.
I used my walking foot and a serpentine stitch.
After the center is anchored, sew each side down, removing pins as you go.
The stitching is not very visible on the pretty side so straight or wavy doesn't matter.
Now thread the narrow safety pin into the casing and push it as far as you can by scrunching the fabric up. Then pull the end of the fabric down while holding the head of the pin.
Continue pushing and pulling until you get to the other end. The large safety pin will act as an anchor so the far end of the elastic will stay at the other end and not travel up the casing too.
Sew across the elastic and casing at each end before removing the pins.
Once the elastic is securely sewn, remove the pins and repeat for the other side.
Almost done!
Pin the raw ends with right sides together and sew a 3/8" seam. Backstitch at each end.
Push the seam to one side and sew it down.
"Venetian Paisley"
"Clementine"
"Heather"
These steering wheel covers are not stretchy.
A 46" wheel cover will not fit a 47" wheel.
The elastic just makes the cover curl in.
Enjoy!
Lynn is selling these on Etsy here: Holman's Creations


Do you sell these?
ReplyDeleteI gave these three wheel covers to my daughter, Lynn, to sell on her Etsy page. See the link on this page and contact her. If you need a different size (larger than 46") I can make it. I have a variety of Vera Bradley prints to work with too.
DeleteHi! I tried following these but because I'm a beginner with the sewing machine it was quite rough.. I was wondering if I could order one from you?
ReplyDeleteYou have done a amazing job with you website
ReplyDeletedeflettori auto
Thank you so much..my daughter wants a Marvel cover...I love the non-slip idea... Sewing one today...
ReplyDeleteGreat idea! I’ve always wanted to do this…your instructions a great and very clear. Non-slip stuff…awesome.
ReplyDeleteI would definitely be doing this. Thank you.
ReplyDelete